
Last updated November 21, 2026
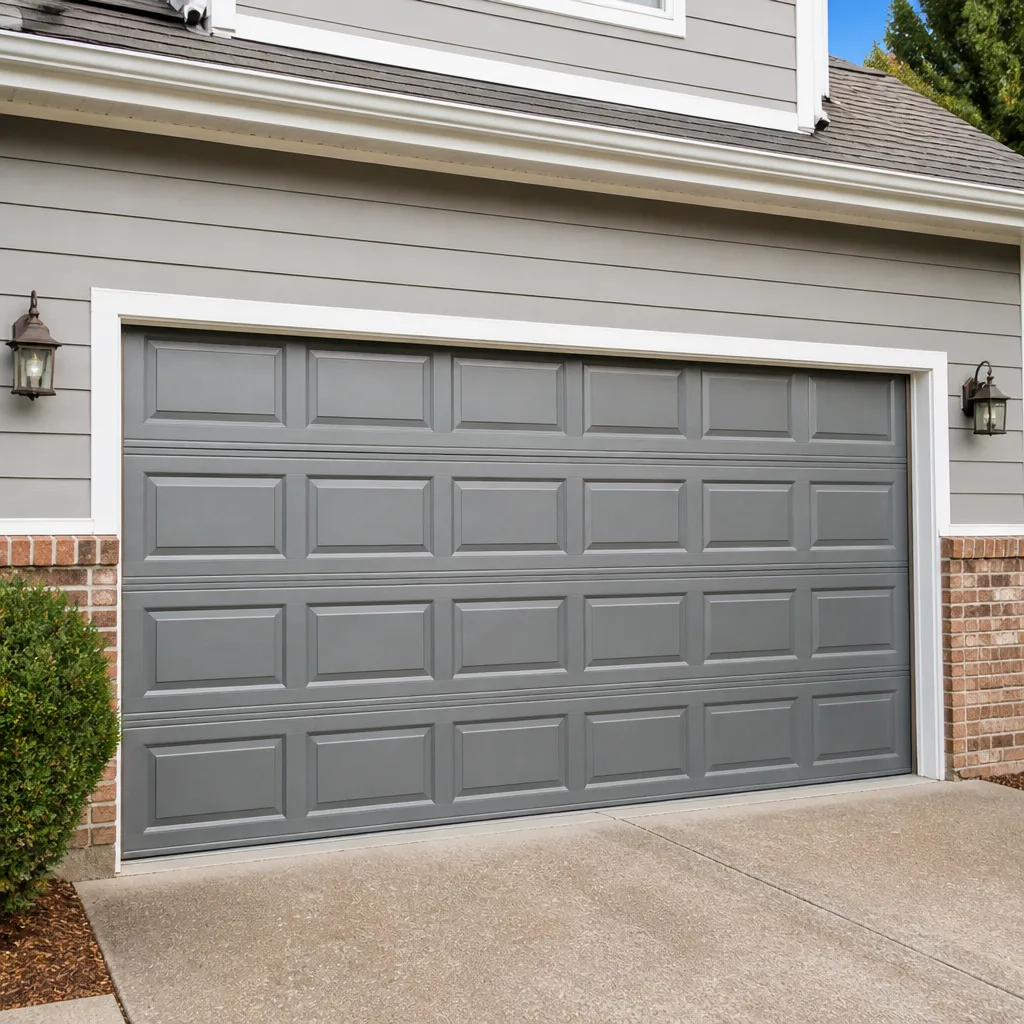 Raised-panel steel
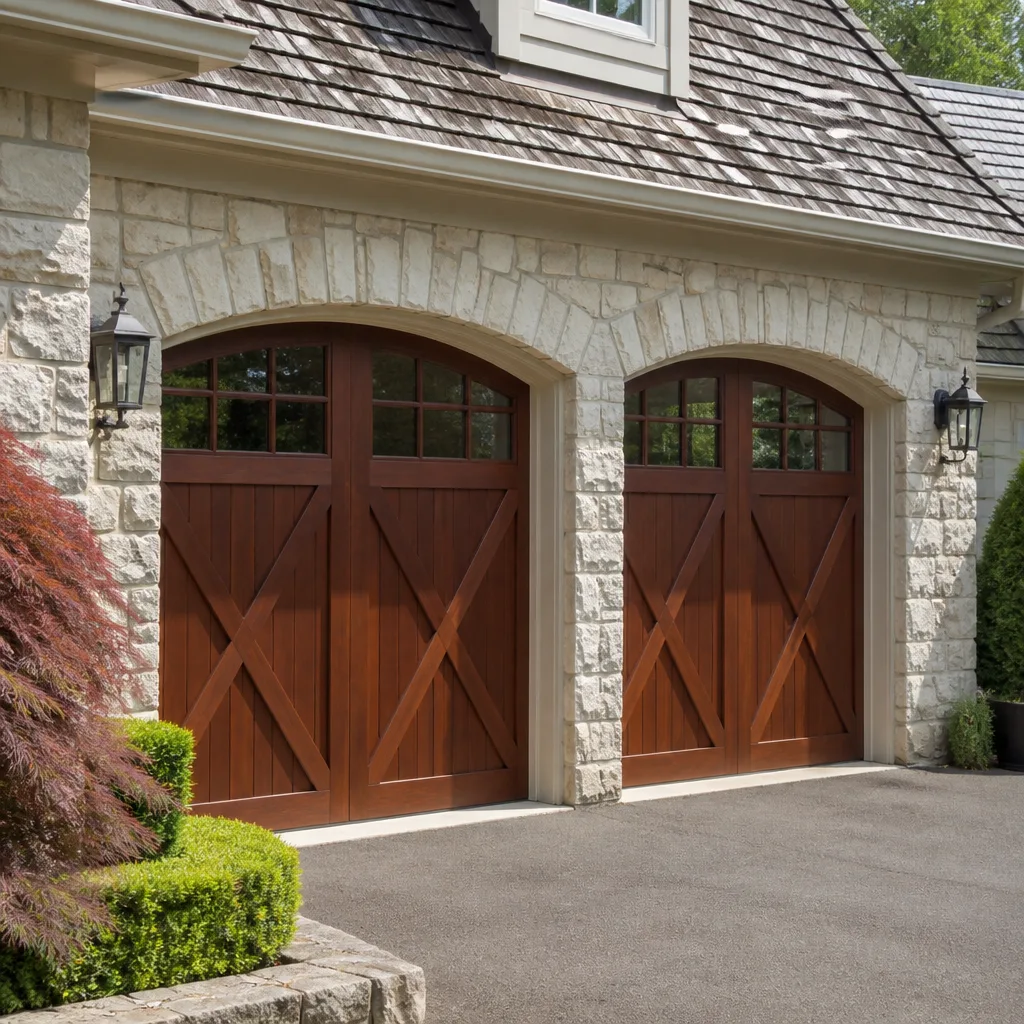 Carriage house
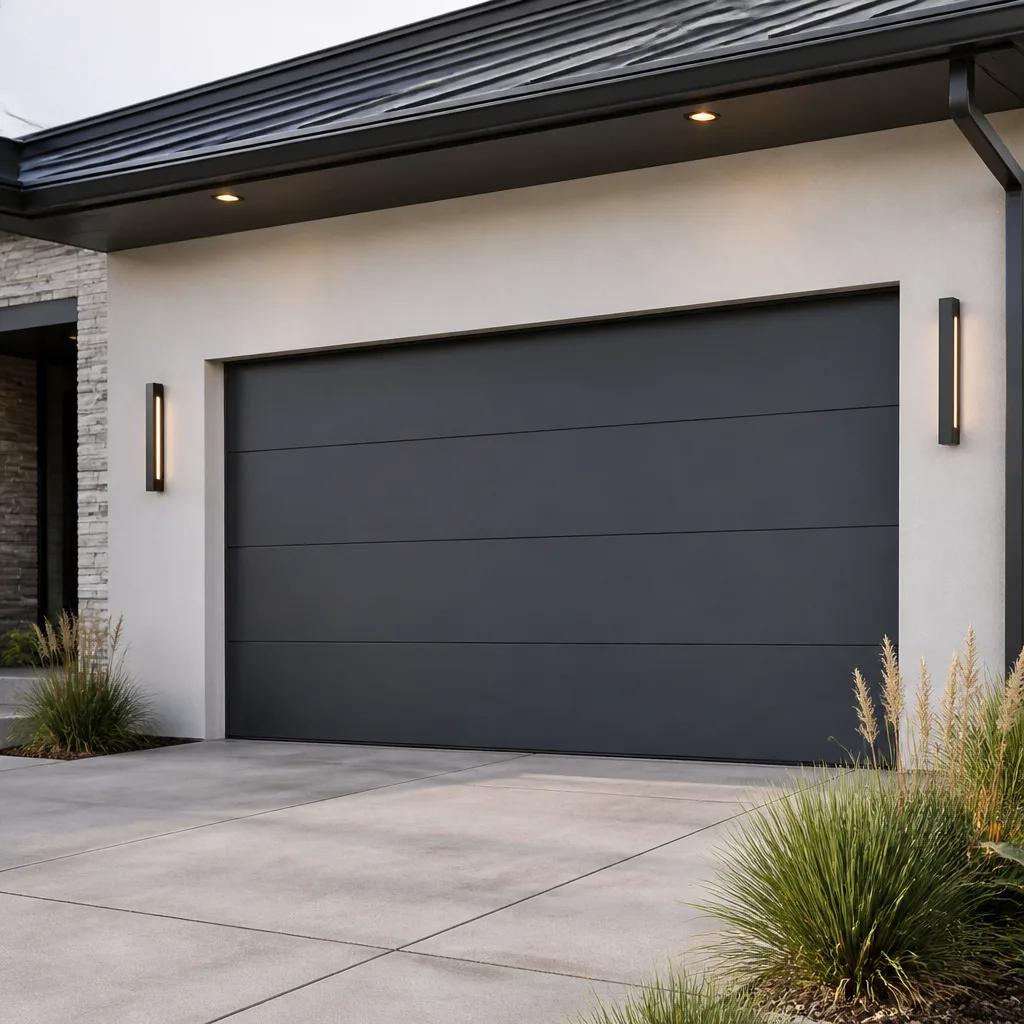 Modern flush
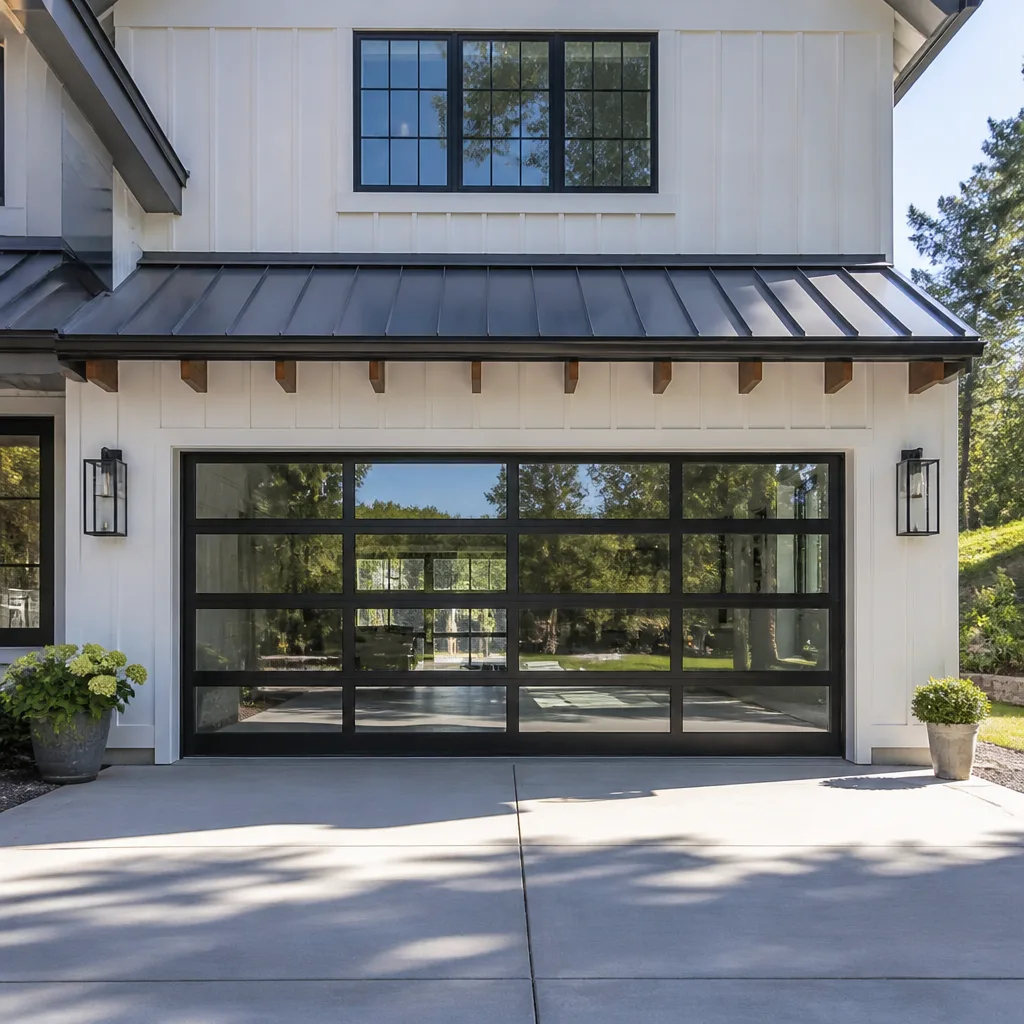 Full-view glass
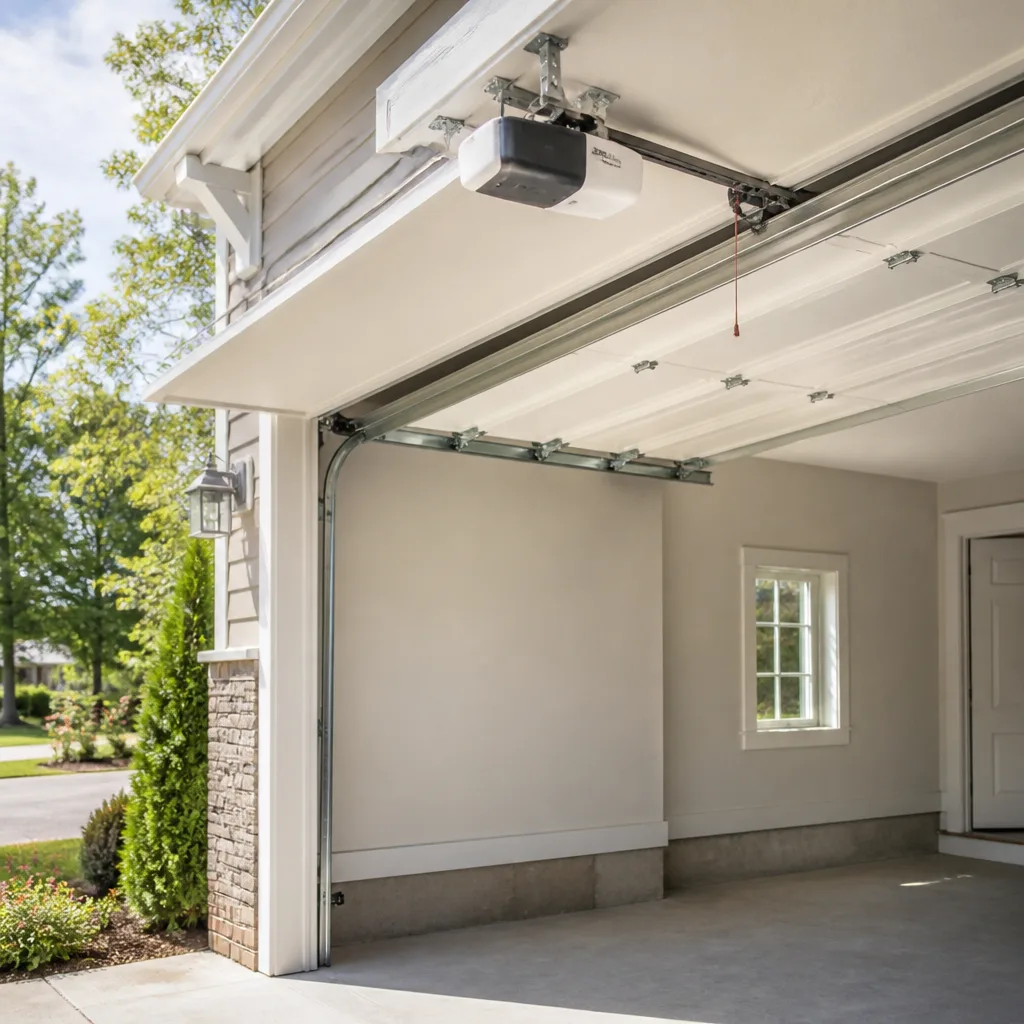 LiftMaster openers
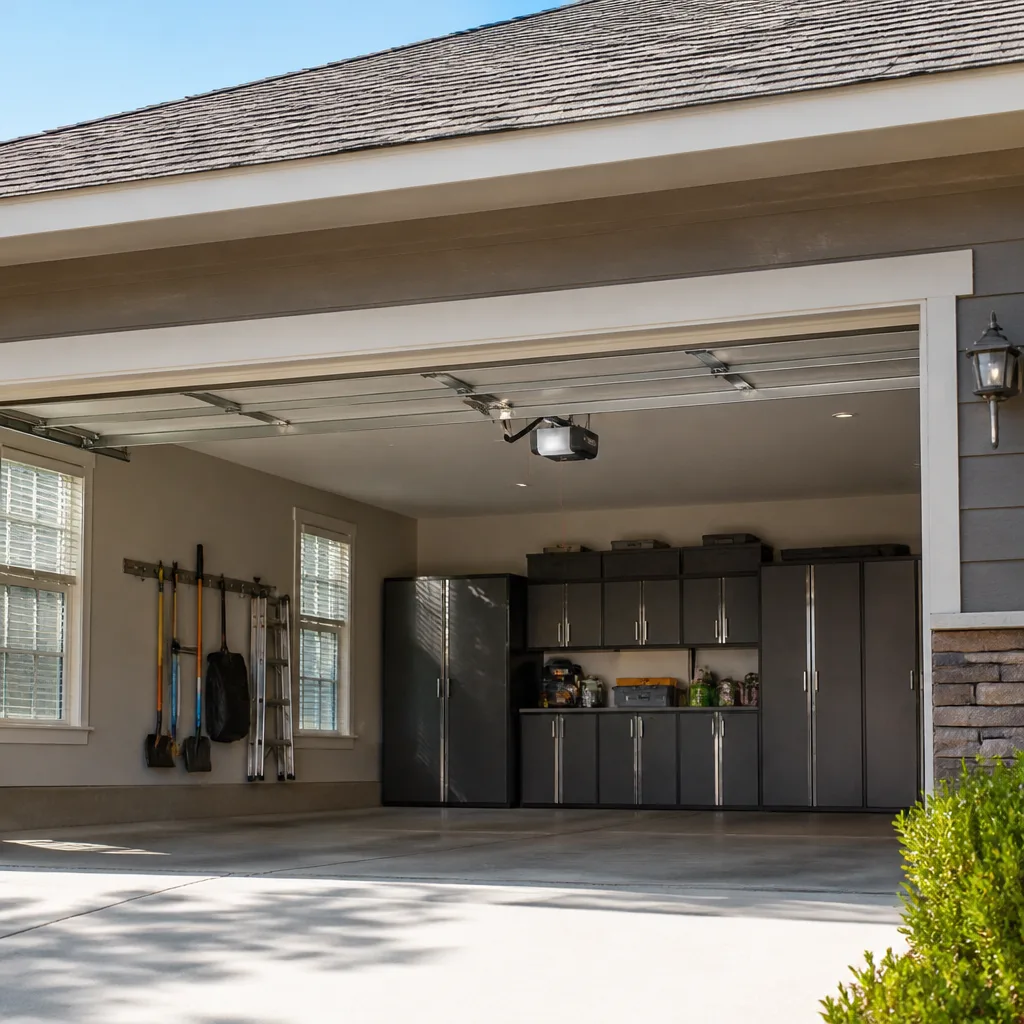 Chamberlain openers
Full 25-point door and opener safety check with every visit - springs, cables, rollers, tracks, and your LiftMaster or Chamberlain opener included
You get a price before we start. It does not change when the pro arrives.
Get your free estimateGarage Door Repair Maintenance Checklist for Forest Hills Homeowners
Torsion springs don’t snap without warning. They give you measurable signals for weeks beforehand – a gap in the coil, a slight sag, a door that sits a little crooked – and most homeowners walk past those signals every day without knowing what they’re looking at. The same is true of cables, rollers, and opener gears. A garage door fails on a schedule, and that schedule is written in things you can actually see and measure if you know what to look for. This guide gives you the specific numbers, the brand-specific service intervals, and the seasonal timing that matters for a Forest Hills garage, so you can catch a $200 problem before it turns into a $900 one.
Quick Answer
A complete garage door maintenance checklist for Forest Hills homeowners covers five areas: visual inspection of springs and cables, balance and travel testing, track and roller lubrication, weather seal condition, and opener safety-reverse testing. Check springs and cables monthly, lubricate moving parts every four to six months, and do a full safety test twice a year – in October before freeze cycles and in April after road salt season. Anything involving springs or cables requires a trained technician even when it looks simple.
Styles & brands we work with
- Raised-panel steel
- Carriage house
- Modern flush
- Full-view glass
- LiftMaster openers
- Chamberlain openers
Table of Contents
- Springs and Cables: The Measurements That Matter
- Track Alignment, Rollers, and What a Millimeter of Drift Means
- Brand-Specific Lubrication Schedules for Queens Winters
- Balance, Travel, and Safety-Reverse Testing
- Weather Seals, Bottom Rubber, and Road Salt
- Opener Maintenance by Brand
- Seasonal Timing: What to Check in October and April
- How to Log Maintenance and Predict Component End-of-Life
- Common Mistakes to Avoid
- When to Call a Professional
Springs and Cables: The Measurements That Matter
Torsion springs don’t fail in a single moment. They fatigue through thousands of open-and-close cycles, and fatigue shows up visibly before it becomes a snap. The key indicator is coil gap: on a healthy torsion spring, the coils should be tight together along the entire length of the shaft. A gap – meaning visible space between two coils – signals that the spring is losing tension unevenly. If you can see daylight between coils on more than one section of the spring, that spring is on borrowed time. Note it and get it looked at.
On the cable side, the check is straightforward. Garage door cables are braided steel, and the failure threshold is fraying. Run your eyes (not your hands) along the full length of each cable, from the drum at the top of the shaft down to the bottom bracket. A single broken strand near a drum or bracket is fine to monitor. Two or three broken strands in the same six-inch section means the cable should be replaced before it lets go. A snapped cable on a door that’s already open can whip loose and cause serious damage.
Safety note: torsion and extension springs are under extreme tension at all times. Never attempt to loosen, remove, or adjust a spring or its winding cone yourself. That’s true whether the door is up, down, or halfway. Our garage door spring repair work is done with winding bars and proper training precisely because the risk isn’t theoretical.
What to measure on springs and cables, monthly:
- Coil gap: any visible daylight between coils, especially near the center bracket, warrants a call.
- Cable strands: inspect visually for fraying, and look for coiling or “birdcaging” near the drum.
- Spring color code: the painted stripe on the spring tells you the wire gauge and wind count. Photograph it now while the label is readable – it saves time on the repair estimate later.
- Anchor plate bolts: check for slack by eye, not by wrench. Loose anchor bolts are a technician job.
Track Alignment, Rollers, and What a Millimeter of Drift Means
Vertical tracks should be plumb, and horizontal tracks should be level with a very slight rise toward the back so the door settles gently against the opener rail. A useful tolerance for a homeowner doing a visual check is about 3 to 5 millimeters of drift from plumb on a vertical track over its full length. Less than that is normal; it just means the installer left the track a hair off. More than that, or any bend in a horizontal track, and the rollers are riding at an angle, which grinds the nylon wheel and accelerates wear on the hinges and the opener.
Rollers are the cheapest part on the door and the easiest to check. The nylon or steel wheels at each hinge should spin freely with your fingertip and shouldn’t wobble on the shaft. Worn rollers develop a flat spot that thumps as the door opens – you’ll hear it as a rhythmic knock about every second of travel. Steel rollers on a door that sits mostly closed all winter can start to squeal in a way nylon ones don’t, because the steel holds grit more stubbornly.
Hinges are the other half of this picture. Grease the hinge pins (not the roller shafts) every few months and watch the steel for stress cracks around the rivets. On a Forest Hills door that faces the street daily, the bottom two hinges take the most wear because they carry the most weight per cycle.
What to check on the track and roller side:
- Vertical track plumbness: eyeball it against a level or a straightedge; any drift over 5 mm needs alignment.
- Horizontal track slope: slight, never downward toward the door.
- Roller condition: each wheel turns and sits flat, no wobble, no flat spots.
- Hinge rivets: stress cracks at the rivet heads are a replacement signal, not a repair.
- Track obstructions: road salt and grit collect in the bottom track curve in Forest Hills through the winter; wipe it out.
Brand-Specific Lubrication Schedules for Queens Winters
Every manufacturer publishes a service interval, and they rarely agree. LiftMaster openers, for example, generally call for light lubrication of the chain or belt at manufacturer-set intervals that many techs interpret conservatively as every 6 to 12 months depending on cycle count. Clopay publishes guidance for the door itself that’s mostly about hinges and rollers rather than the opener. Craftsman and Chamberlain operators tend to use the same underlying design language, so their chain tension and lubrication guidance follows closely – which is why we treat those three nearly identically on a service visit. Raynor’s commercial-grade residential doors are a little more forgiving, but on a Forest Hills door that goes up and down six or eight times a day, year-round, the stricter schedule always wins.
The real variable here is the Queens winter. Freeze cycles push the lubricant out of hinge pins and roller shafts, and then road salt from the plowed street sticks to whatever’s left. A lubricant that holds up fine in a mild climate may need reapplication twice as often once the salt exposure starts. In our experience, a garage door facing a Forest Hills sidewalk or street approach wants its hinge pins and roller shafts touched up every four to six months – not the twelve-month cadence a manufacturer in a warmer market can get away with.
What to use and how to apply it:
- Wipe the hinge pin and roller shaft clean before reapplying anything – fresh grease over grit just makes grinding paste.
- Use a lithium grease or a silicone spray on hinge pins. Never use WD-40 as a long-term lubricant; it works as a cleaner but it evaporates and leaves the pin dry.
- Apply a small bead of silicone or lithium grease along the torsion spring (not on the winding cones) once a year to reduce coil friction and slow fatigue.
- Run the door up and down two or three times after lubricating so the grease works into the pin, then wipe off any excess.
Repeat the process when the calendar says late October and again when it says early April. Those two touchpoints line up with the seasons when Forest Hills garages take the hardest cycling.
Balance, Travel, and Safety-Reverse Testing
A garage door is balanced when the springs carry its weight and the opener only has to nudge it. Test it like this: disconnect the opener by pulling the emergency release, lift the door halfway by hand, and let go. A balanced door should hold that position or drift very slowly. A door that slams down or rises on its own is telling you the spring tension is off. On a Forest Hills door approaching ten or fifteen years old, imbalance is often the first symptom of spring fatigue – long before anything snaps.
The safety-reverse test is the other half. Every opener made in the last few decades has two safety systems: a mechanical reverse that triggers when the door hits an object, and (on most modern units) a photo-eye system that reverses the door when the beam is broken. Test the photo-eye by waving a hand across the beam while the door is closing – the door should reverse. Test the mechanical reverse by laying a roll of paper towels or a 2×4 flat on the ground under a closing door – the door should reverse on contact.
If either test fails, stop using the door until it’s fixed. A garage door that won’t reverse can injure a child or a pet, and it’s one of the few safety systems on a home that has a total failure mode, not a partial one.
What to test every six months:
- Balance test: door holds position at halfway travel when released.
- Photo-eye test: door reverses when the beam is broken during closing.
- Mechanical reverse test: door reverses when it meets a 2×4 laid flat on the floor.
- Limit switch check: door stops flush against the floor without compressing the seal, and fully up without hitting the opener rail.
- Force adjustment: the opener closes firmly but doesn’t strain. If the door reverses on the floor for no reason, the force limit is set too low and needs adjustment.
Weather Seals, Bottom Rubber, and Road Salt
The bottom seal on a garage door is a rubber or vinyl tube that runs the full width of the door. When it’s intact, it keeps rain and cold air out. When it’s cracked or flattened, wind-driven snow, dead leaves, and humidity get in, and the floor of your garage stays wet through the winter. On a Forest Hills door, the bottom seal is the first casualty of street salt – not because salt damages rubber directly, but because salt spray from the road bonds to the seal and, when it freezes, splits it.
Check the seal by eye from inside the garage with the door closed. Look for light coming through along the floor line. Then look at the sides – the side seals, if you have them, and the top seal, should be intact without cracking or curling at the ends. Replace bottom seals before the first freeze cycle; once the seal is cracked, driving a wet car onto a salted driveway makes the problem worse all winter.
Weatherstripping on the door jambs is the other piece. It’s a foam or rubber strip that runs vertically on either side. When it’s worn, you get drafts and moisture on the wall. When it’s torn, it catches the door edge every time the door cycles and puts extra load on the opener. Replace it in October and again in April if it’s already showing wear.
Opener Maintenance by Brand
Openers are the part of the system with the most brand-specific quirks. LiftMaster and Chamberlain share a lineage, so their chain-drive and belt-drive openers follow similar tension specs and similar logic board layouts. Craftsman, also internally close to that family, shares a lot of the same diagnostic codes. Genie openers have their own logic and their own set of travel-limit adjustments. Raynor doesn’t build openers in-house for most residential installs, so their doors often ship with a LiftMaster or Chamberlain operator – which means when a Raynor door has an opener issue, the fix is usually a LiftMaster or Chamberlain fix.
What to check on the opener itself:
- Listen to it. A healthy opener is nearly silent on a belt drive and consistent in tone on a chain drive. A new rattle, a thump, or an intermittent squeal is a diagnostic clue.
- Test the safety reverse (see above) – this is the most important opener check and the easiest to forget.
- Check the chain or belt tension. It should have maybe a half-inch of deflection when you press on it. Sagging means adjustment; too tight means strain on the motor.
- Inspect the wall control and both remotes for consistent function. A remote that works only when close to the door is usually a battery or a photo-eye alignment issue.
- Clear the safety-eye lenses with a soft cloth – dust, spider webs, and salt film cause false reversals more often than the electronics themselves.
When an opener is failing, we work on the garage door opener repair side of the system directly rather than handing you off. If you’re looking at a full replacement rather than a repair, our garage door installation service is set up to hand you a written price after a home measure, not a same-day number.
Seasonal Timing: What to Check in October and April
Forest Hills garages get two distinct seasonal stress windows. October is the transition from warm and wet to cold and frozen. That’s when the freeze cycles start, and the checklist shifts toward anything that holds or moves water: bottom seals, door sweeps, track drains, and hinge lubrication before the cold starts pushing grease out. It’s also the right month to test spring balance, because a spring close to failure often shows that failure only at cold temperatures when the metal is less ductile.
April is the reverse – the freeze cycles end, and the road salt has done its damage. This is the month to wash the bottom track, clear the salt from the seals, and inspect the cable and roller for the wear patterns cold weather accelerates. Spring is also when doors that lived through the winter start showing balance problems, because the cycling stress of the cold months doesn’t always show up until things warm up.
What to put on the October checklist:
- Balance test with the door disconnected from the opener.
- Bottom seal inspection for cracking or separation.
- Hinge lubrication with a lighter grease (cold-weather thickness matters).
- Photo-eye cleaning and safety-reverse test.
- Any suspect spring – gap, sag, or color-code change – flagged for a technician.
What to put on the April checklist:
- Bottom track and threshold wash-down to clear road salt.
- Cable fraying inspection along the full length.
- Roller spin test on every hinge.
- Full balance and safety-reverse test.
- Weather seal check on all four sides (top, bottom, left, right).
How to Log Maintenance and Predict Component End-of-Life
Garage door parts fail on predictable cycles if you track them. Torsion springs typically last through a defined number of cycles – most residential springs are rated somewhere in the range of 10,000 cycles, some more, some less. Rollers last roughly three to five years under normal residential use. Cables last about ten years in mild use. Openers last ten to fifteen years before the logic board gets flaky. None of these are exact, but a log gives you a real baseline rather than a manufacturer’s guess.
Here’s how to keep the log useful:
- Record the install date (or your best estimate) of every component you can identify: springs, cables, rollers, hinges, opener motor.
- Record the spring color code and wire diameter – photograph the paint stripe on the torsion spring while the label is new and legible.
- Log every inspection date and what you found – “spring coil gap visible near center bracket” is more useful than “looked OK.”
- Log every repair, with the part replaced and the cycle count if you know it.
- Track how many times the door cycles per day (a rough count is fine – six times, ten times, twenty times changes the maintenance math).
- Set a calendar reminder for October and April. That’s your schedule anchor.
Once you have two or three years of data, you can predict approximate end-of-life for each component. A door that cycles ten times a day is on a much tighter spring schedule than a door that cycles twice, and a Forest Hills door with a north-facing approach that drains its own rain is on a longer seal schedule than one facing the wind-driven sleet.
Common Mistakes to Avoid
- Testing the balance with the opener still connected. You’ll get a false positive because the opener is holding the door. Pull the emergency release first.
- Using WD-40 as a long-term lubricant. It displaces grit but it evaporates, leaving the pin dry and leading to faster wear. Use lithium grease or silicone spray.
- Ignoring tiny coil gaps. A spring with visible daylight between two coils is giving you weeks of warning. Waiting for the snap often means the door drops and the car gets trapped.
- Replacing rollers but not the hinges. Worn rollers on worn hinges still cause noise and misalignment. The two go together.
- Adjusting spring tension as DIY. Never. This is the single largest cause of serious garage door injury in the trade. Springs are a technician job no matter how straightforward they look.
- Forgetting the bottom seal after a hard winter. By spring, the salt damage is done. Replacing the seal in October saves the whole season’s wear.
- Not keeping a maintenance log. Without dates, you’re guessing at every component’s real age – and Forest Hills garage doors that get 6 or 8 daily cycles are on a much tighter schedule than the manual assumes.
When to Call a Professional
Most of this checklist is DIY-safe. The exception is anything involving springs, cables, or the winding cones that anchor them – those are under enough tension to kill you, and no homeowner should put a wrench on them no matter how simple the job looks. Other scenarios that warrant a call: a door that won’t stay up when you let go, a door that reverses on the floor for no reason, a snapped or stretched opener chain, a photo-eye that fails the safety test, a bent vertical track, and a door that’s been hit by a vehicle. Also worth calling: if the door cycles but the opener makes an unfamiliar noise or the door moves in uneven jumps.
We handle garage door repair across Forest Hills with a focus on brands like LiftMaster, Chamberlain, Genie, Clopay, Amarr, Wayne Dalton, Craftsman, and Raynor, so the technician who arrives already knows the system. Forest Hills Garage Door Repair Pros offers free estimates in Forest Hills – call (855) 658-4356. We answer 24/7, with fast dispatch from 7am to 7pm, Sunday through Friday. Our technicians have up to 8 years of experience on spring systems, opener diagnostics, and the full mechanical chain.
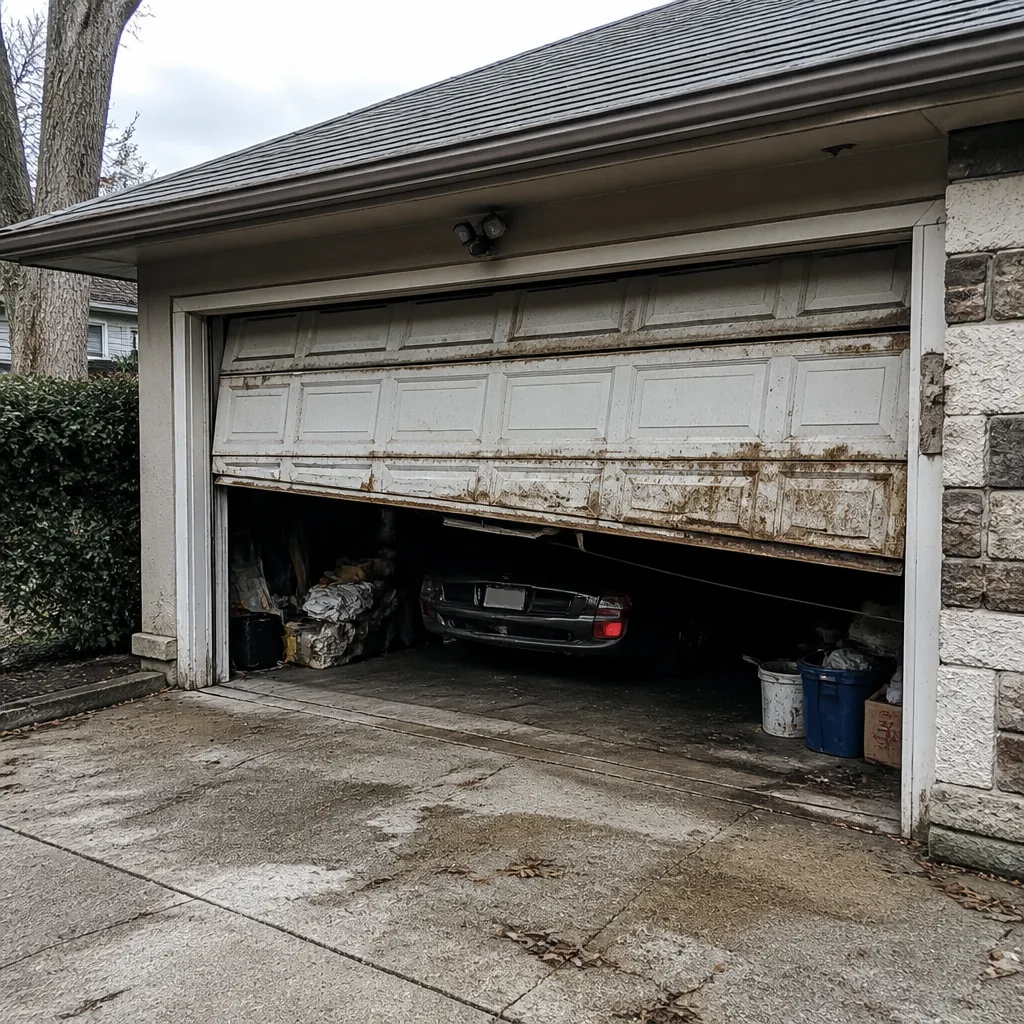
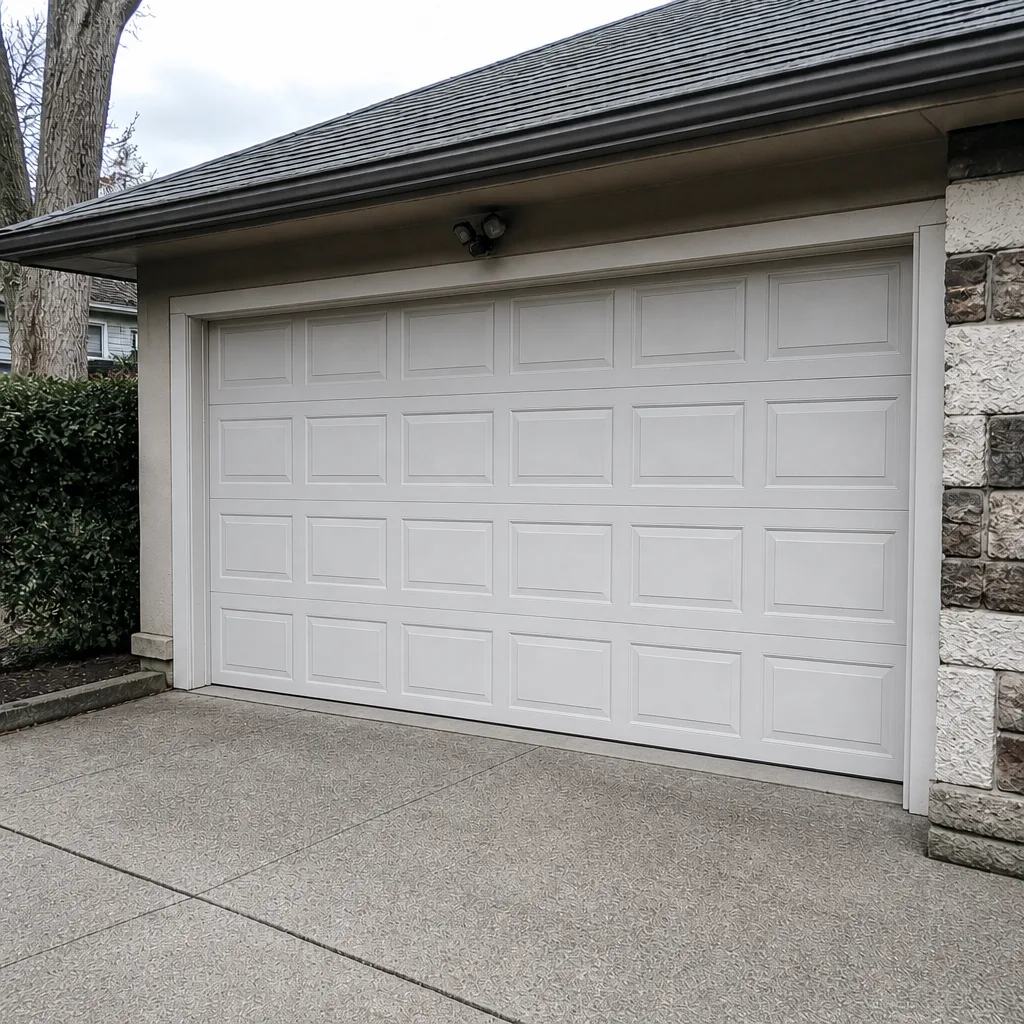
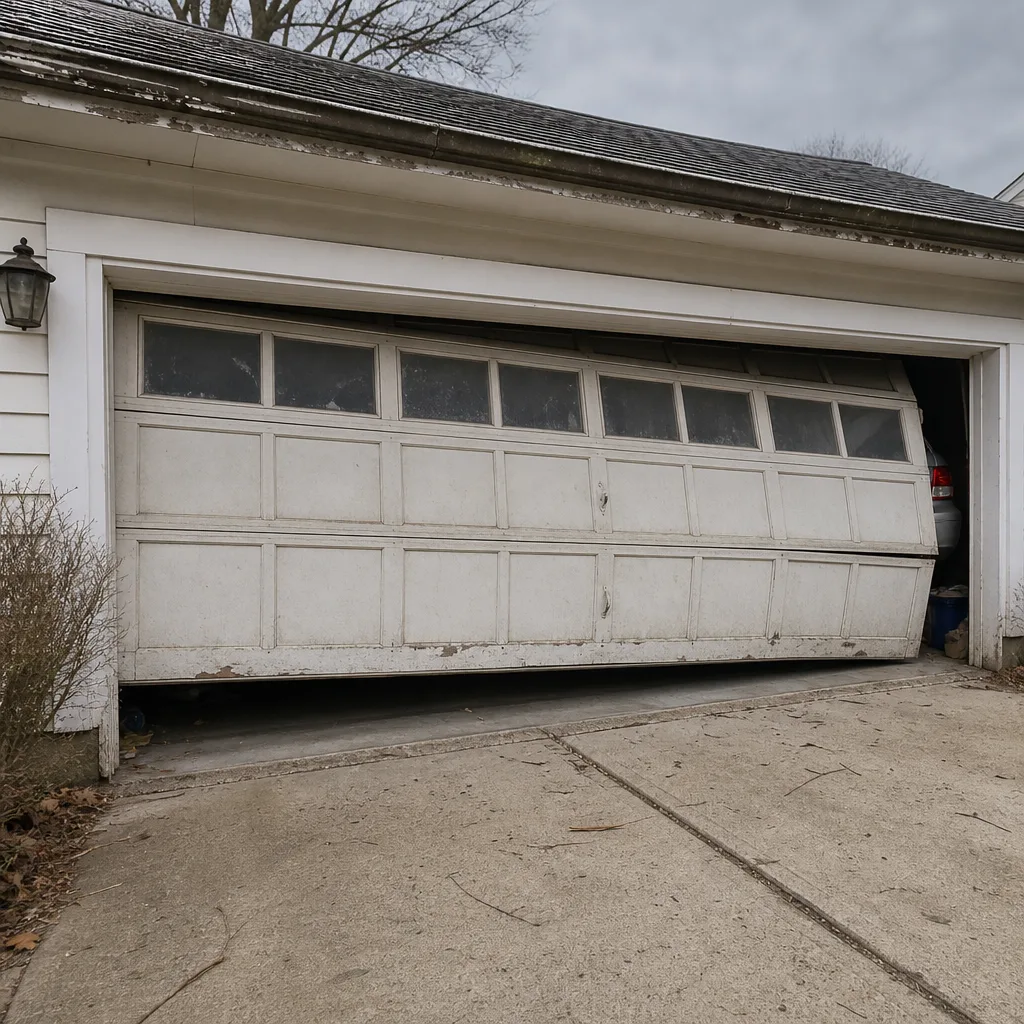
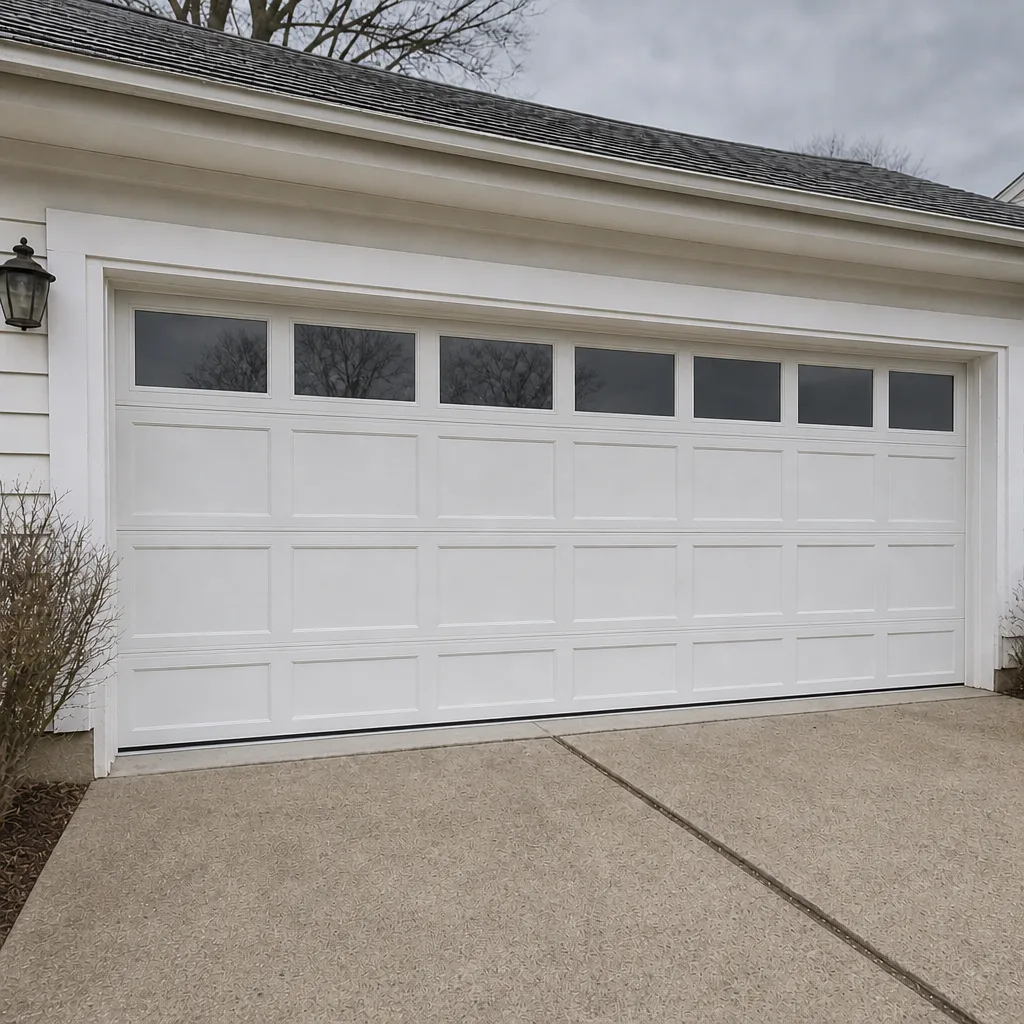
See the difference
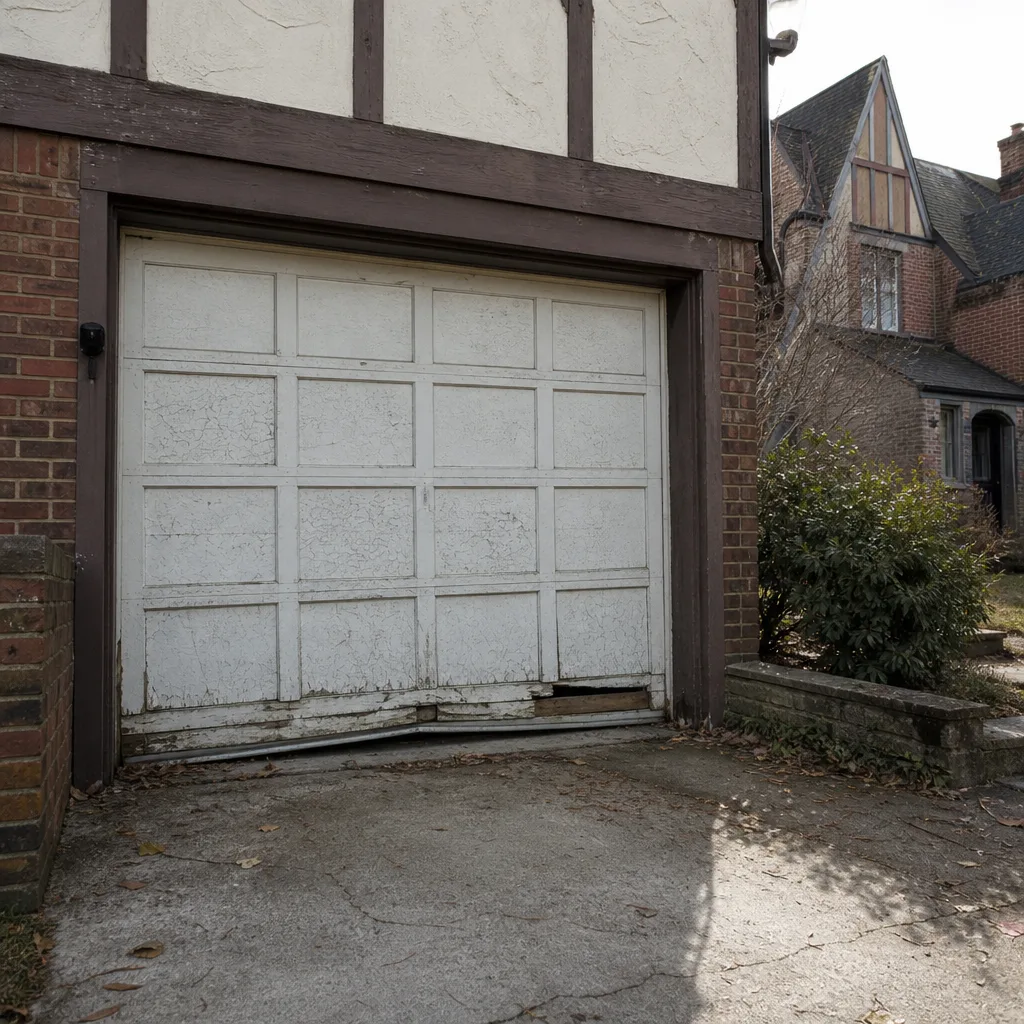 Before
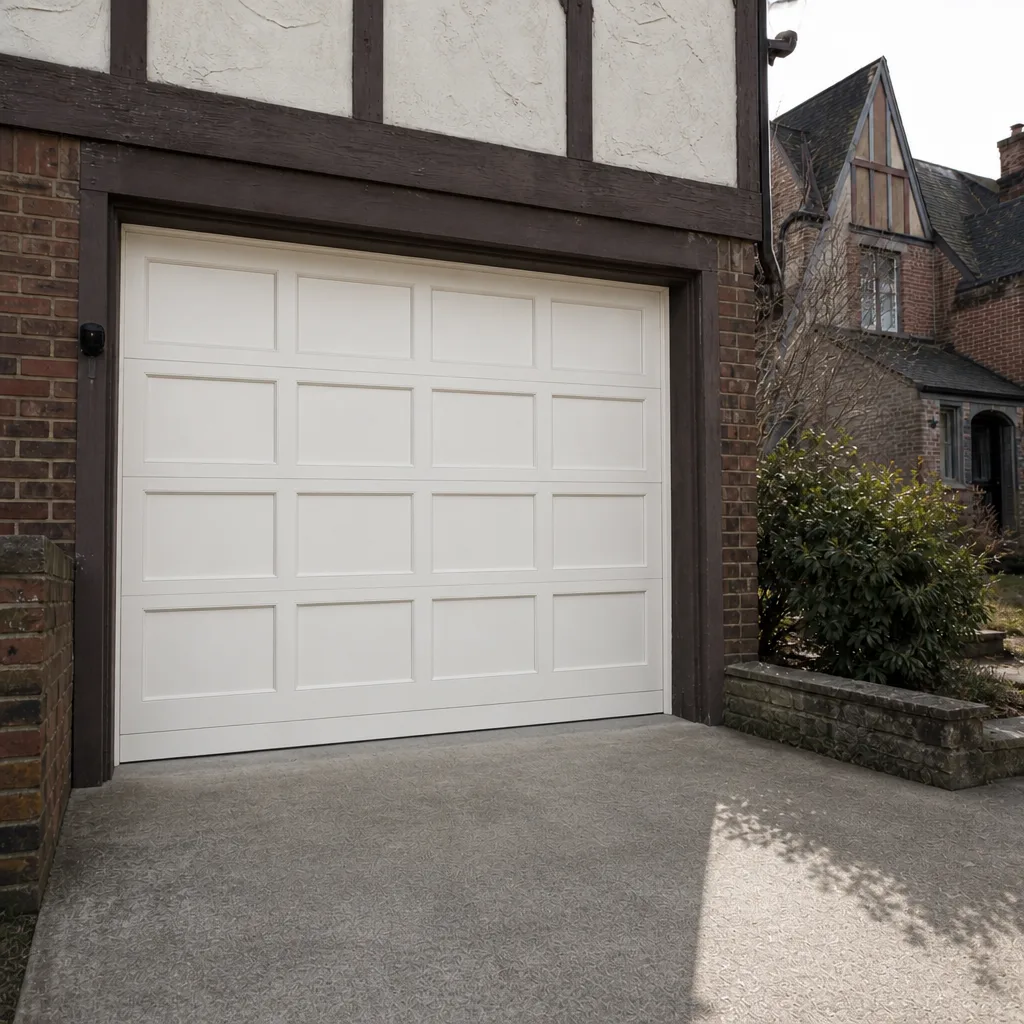 After
 Before
 After
 Before
 After
Frequently Asked Questions
Every four to six months for a Forest Hills garage facing a residential street, because road salt and freeze cycles push the grease out faster than manufacturer intervals assume. A door that cycles fewer than four times a day can stretch to every six months, but a busy household should tune up hinges and roller shafts in October and April without fail. Call (855) 658-4356 if your door is already squealing – a technician can tell whether it’s just dry or whether a hinge or roller is failing.
You can look at it visually – checking for coil gap, sag, or the color-code paint stripe – but you should never touch, loosen, or adjust it. Torsion springs are under enough tension to cause serious injury, and even a slow-moving spring can release suddenly. If you see a gap, call us for a spring inspection; estimates are free.
A visible gap between two coils of the torsion spring, or a door that no longer balances at the halfway point when you release it with the opener disconnected. Both show up weeks before the spring actually breaks, which is why the monthly spring check matters more than any other item on this list. Call (855) 658-4356 for a spring check.
Yes – the bottom seal is one of the genuinely DIY-safe items on the checklist. It slides in or clips onto the bottom section of the door and requires no spring or opener work. Order the correct width for your door section, cut it with a sharp utility knife, and lubricate the channel with a little silicone before sliding the new seal in.
Often yes. Manufacturer intervals are written for an average climate and average cycle count. A Forest Hills door on a salt-plowed street with ten daily cycles should follow the stricter end of every interval: lubricate every four months, wash the bottom track every spring, replace the bottom seal before the first freeze. Our technicians have up to 8 years of experience with what Queens winters actually do to a door, and we’ll tell you what your specific door needs.
Stop using the door until it’s fixed. A door that won’t reverse on contact with an object can injure a person or pet, and it’s a total failure mode, not a partial one. The problem is usually an out-of-alignment photo eye, a dirty lens, a loose wire at the wall control, or a force limit set too low – a technician can diagnose which in a single visit. Call (855) 658-4356; we answer 24/7 and dispatch fast from 7am to 7pm, Sunday through Friday.
The Bottom Line
Garage door maintenance is a measurement discipline, not a vibe. Check the coil gap on your springs and the integrity of the cables monthly. Test balance and safety reverse every six months. Lubricate hinges and roller shafts every four months in a Forest Hills salt-and-freeze climate. Keep a log with dates, spring color codes, and cycle counts so you can predict a component’s end-of-life instead of reacting to a failure. Skip anything involving springs and cables – those belong to a trained technician, always. The rest of the checklist you can own, and doing it on the October-April rhythm will save you the emergency call in the middle of a Forest Hills winter. Visit Forest Hills Garage Door Repair Pros for the full service list, or call (855) 658-4356 for a free estimate.
Written by the team at Forest Hills Garage Door Repair Pros.